Monday 29 October 2018

Happy Haunting!


Here's a Halloween Treat box made with the Tonic Studios Terrarium Die. I love the shape of this one. A great box and so different. 

I started by making the box base using a shiny metallic black card. I then cut the panels out of the same cardstock and embossed the web stamp onto it using Silver Glitter Embossing Powder. I then edged the panels and embossed these too. It really shines in real life.


Thursday 11 October 2018

Treasure Trove


 I loved this Hamper die from Tonic the moment I saw it!
Once I saw the shape I knew it had to become a Pirate Treasure chest.


I cut all the die pieces from brown card and used a woodgrain stamp to add details to all the panels. Then I used the 'handles' dies to make the straps over the top by cutting them out of gold mirri card. The 'lock' was also a die from this set.


The inside looked a bit plain so I printed some pirate themed papers from the Land Ahoy digi kit by Nitwits.


This is the kit...

I added some brown pearls that I have had for ages to all the panels to finis off the look.


Like it? Here's the die to head off to buy...

Sunday 23 September 2018

Festive Release 2018


Another easel made using the Octagon dies and the Snowfall background. I used the snowflake corner as the stopper this time.

Check out all the materials I used at In2Craft for great prices!
https://in2craft.com/2018-Festive-Collection


Saturday 22 September 2018

Festive Release 2018


I started this card by stamping a Lisa Horton sentiment die all over a square piece and then mopped up the oxide having sprayed some water on it. It was a bit bright so knocked it back with some vellum.

Check out all the materials I used at In2Craft for great prices!
https://in2craft.com/2018-Festive-Collection


Thursday 20 September 2018

Festive Release 2018


 Here's a card using stamps from Lisa Horton, dies from Sue Wilson and a technique by Julia Watts!!!
I used distress oxide to heat emboss the baubles with clear embossing powder. Mopped up excess ink that was sprayed with water for the 'blobs' and then mounted it all up. Very different for me but loved it!

Check out all the materials I used at In2Craft for great prices!
https://in2craft.com/2018-Festive-Collection


Wednesday 19 September 2018

Festive Release 2018


The main focus here is Natalie. I used the snowflake border and glitter on the bottom section.

Check out all the materials I used at In2Craft for great prices!
https://in2craft.com/2018-Festive-Collection


Tuesday 18 September 2018

Festive Release 2018


Here's a card made using the Carol die and Silver Mirri Card. The silver is from Creative Expression and is amazing. Cuts beautifully and, as of yet, hasn't shown fingerprints!

The background was stamped using Phill Martin's Collage Stamps and embossed with white embossing powder.

Check out all the materials I used at In2Craft for great prices!
https://in2craft.com/2018-Festive-Collection


Monday 17 September 2018

Festive Release 2018


Here's a card I made using Eve and the stitched Octagons. I used Phill Martin's new collage stamp for the inner.  The centre was stamped in Fired Brick Oxide and covered with clear embossing powder.

Check out all the materials I used at In2Craft for great prices!
https://in2craft.com/2018-Festive-Collection


Friday 13 April 2018

Easel Card Workshop


Recently ran a workshop to demonstrate how to make an Easel Card. We also used Pixie Powders on coloured card for a 'Cheat Pixie' method! I promised I'd share a tutorial. Well here it is.

 Use the 8th (counting from largest to smallest) Stitched Octagon to make the base. This is just slightly lager than the largest plain octagon we will be using from the Lavish Adorned Octagon set.


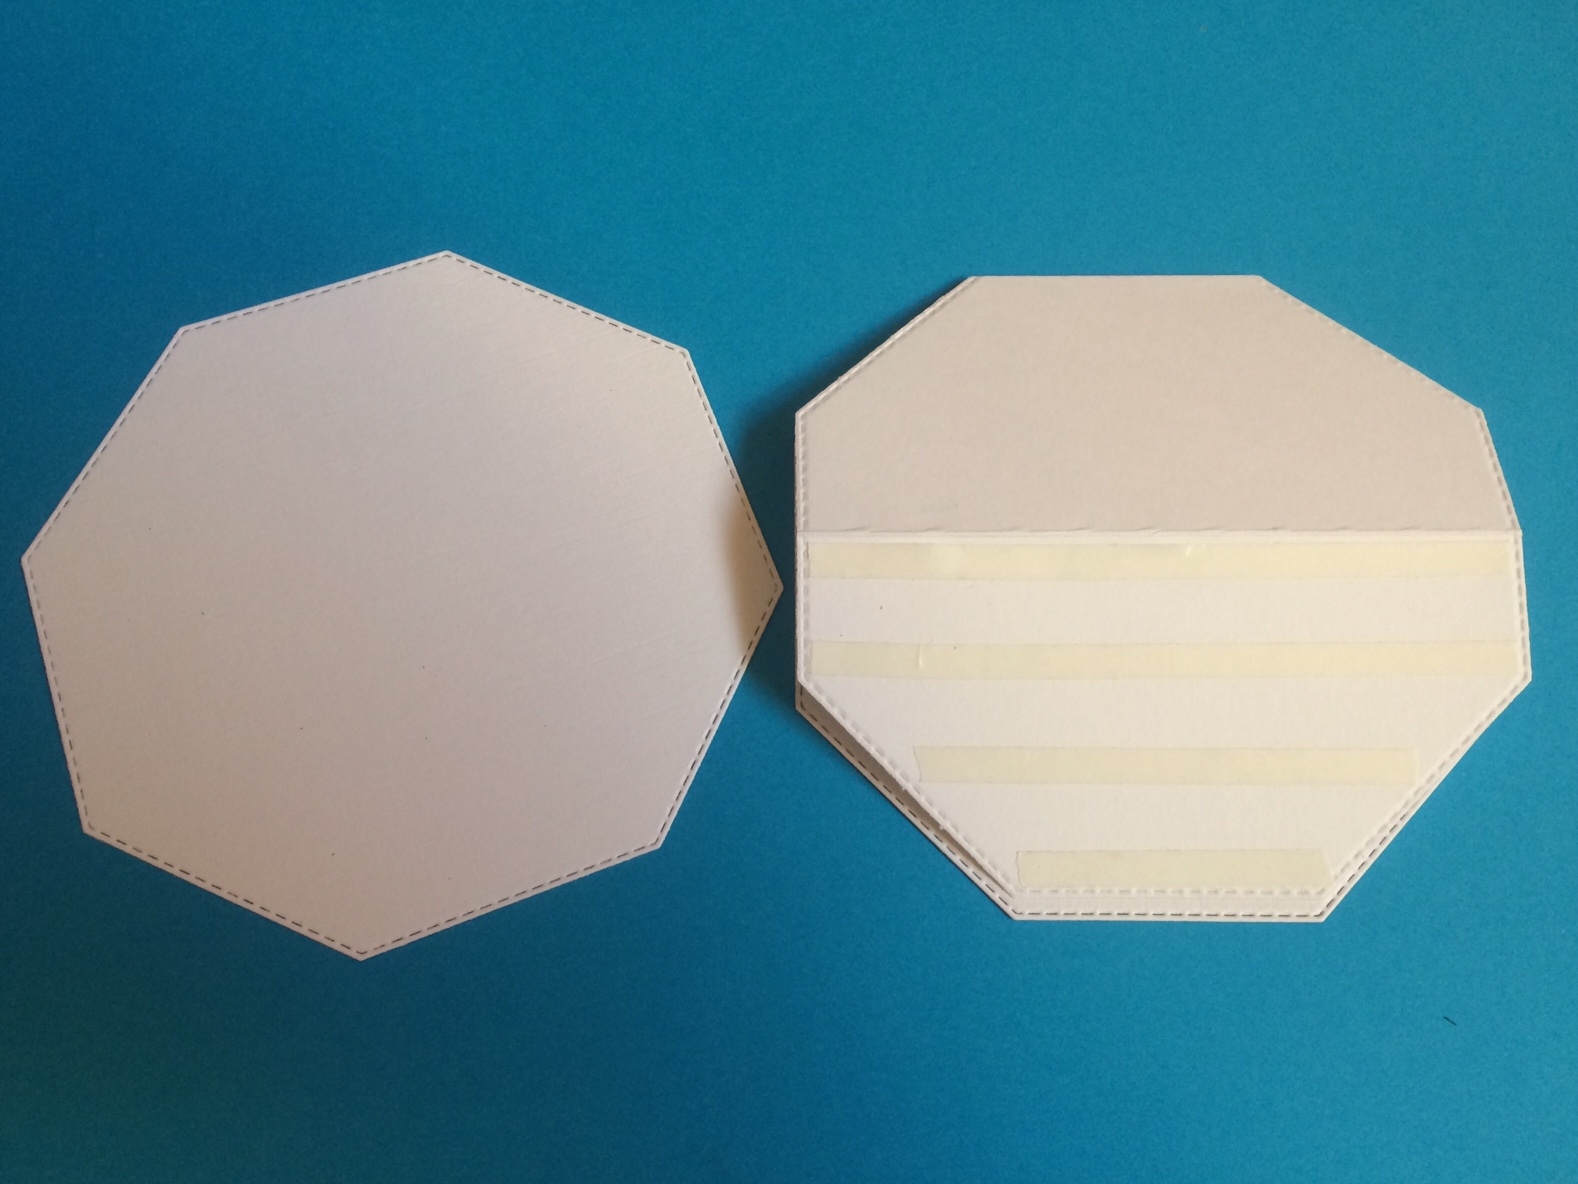
1) Cut a strip of white card stock twice the length of your shape.

2) Fold the card in half (doesn’t need to be exact). Place the base shape over the edge and cut. It should look like this:

You should end up with this:

 3) Place the shape on your score board. Make sure the side with the neat stitching, facing up, is off to your right. This Octagon is about 5” white, so to score half way, I scored at 2.5”. Again, this does not need to be an exact measurement. 

4) Fold as below. Make sure the base is the ‘neat’ stitching.

5) Cut another Hexagon using the die you used for the base. Attach adhesive to the lower section of the folded side.

6) Attach a complete Octagon onto the base. The easel is now complete. Decorate as you wish.

To make the Butterfly Easel Card, cut the following:


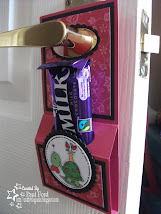
And here are some pictures from the workshop itself.